IS300 gets a standalone on a factory harness — In this detailed guide and accompanying video, I walk through converting a 2002 Lexus IS300 (manual transmission, turbocharged 2JZ-GE VVTi) from a problematic AEM FIC6 piggyback to a full Haltech Elite 2500 standalone ECU while retaining and modifying the factory wiring harness.
Article Outline
- Introduction & Why Standalone
- Tools and Materials Needed
- My Engine Differences & Background
- IS300 Wire Pinout & Factory Wiring
- Ignition & Injector Power Moves
- VVTi Solenoid Rewiring
- Sensor Modifications (Grounds, Cam/Crank, MAF, Coolant, TPS, Knock)
- Relay Wiring & Power Distribution
- Wiring Completed & Haltech Configuration
- Post-Install Tuning Tips & Benefits
- Alternative Options & Future Upgrades
Introduction & Why Standalone
The 2JZ-GE is one of the most reliable engines ever produced by Toyota. When I acquired my 2002 Lexus IS300 manual, it already had a turbo kit (likely an older CXRacing setup) and was running on an AEM FIC6 piggyback. The FIC6 caused consistent issues — inconsistent fueling, loose pins on the main conncetor causing random engine shut-off and overall frustration.
I decided to remove the piggyback entirely and install a full Haltech Elite 2500 standalone ECU. This video and article document the complete process of modifying the factory IS300 harness for direct compatibility with the Haltech.
Watch the full install video here: IS300 Gets a Standalone (HOW-TO on factory harness)
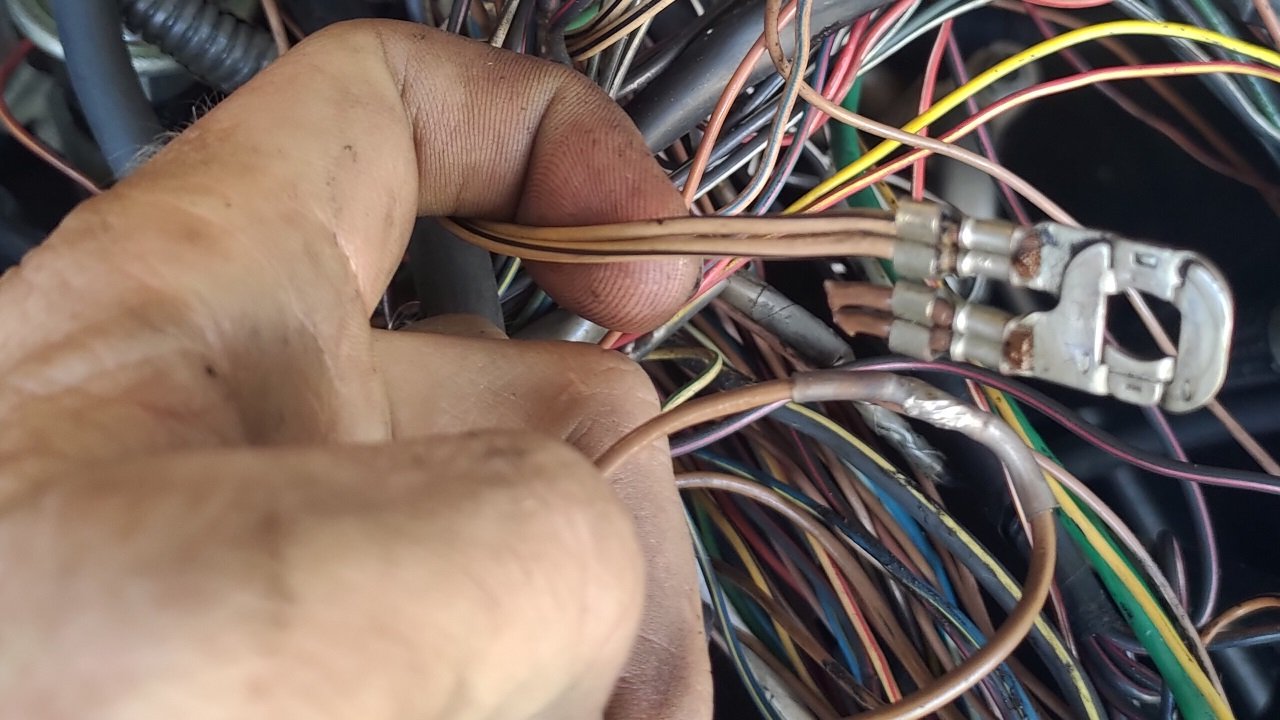
Benefits of going standalone with the Haltech Elite 2500 include:
- Precise control over fuel, ignition, and boost
- Plenty of online user support and great Haltech tech support
- Multiple engine protection strategies to safeguard the 2JZ
- Flex fuel, launch control, anti-lag, and more
- Far superior tunability compared to piggyback systems
Tools and Materials Needed
Before starting, gather these essential wiring tools:
- Open barrel crimpers (high quality — critical for reliable connections)
- Assorted barrel crimps and heat shrink tubing
- Multimeter for testing continuity and voltage
- Wire strippers and pin removal tools
- Electrical tape, zip ties, and conduit for clean routing
- Junkyard donor harnesses (highly recommended for extra wire and connectors — covered in my other videos)
Watch my video on adding fuses to the OEM fusebox.
My Engine Differences & Background
My 2002 IS300 is a factory manual transmission with a turbo added by the previous owner. The car was previously on the problematic AEM FIC6. In the video (@10:41) I cover the specific differences on my engine compared to a stock naturally aspirated IS300.
I also have videos on forged internals install and engine inspection that I uploaded after making this video.
IS300 Wire Pinout & Factory Wiring
At 16:12 in the video, I go over the IS300 wire pinout in detail. Understanding how the factory ECU handles injectors and ignition is crucial.
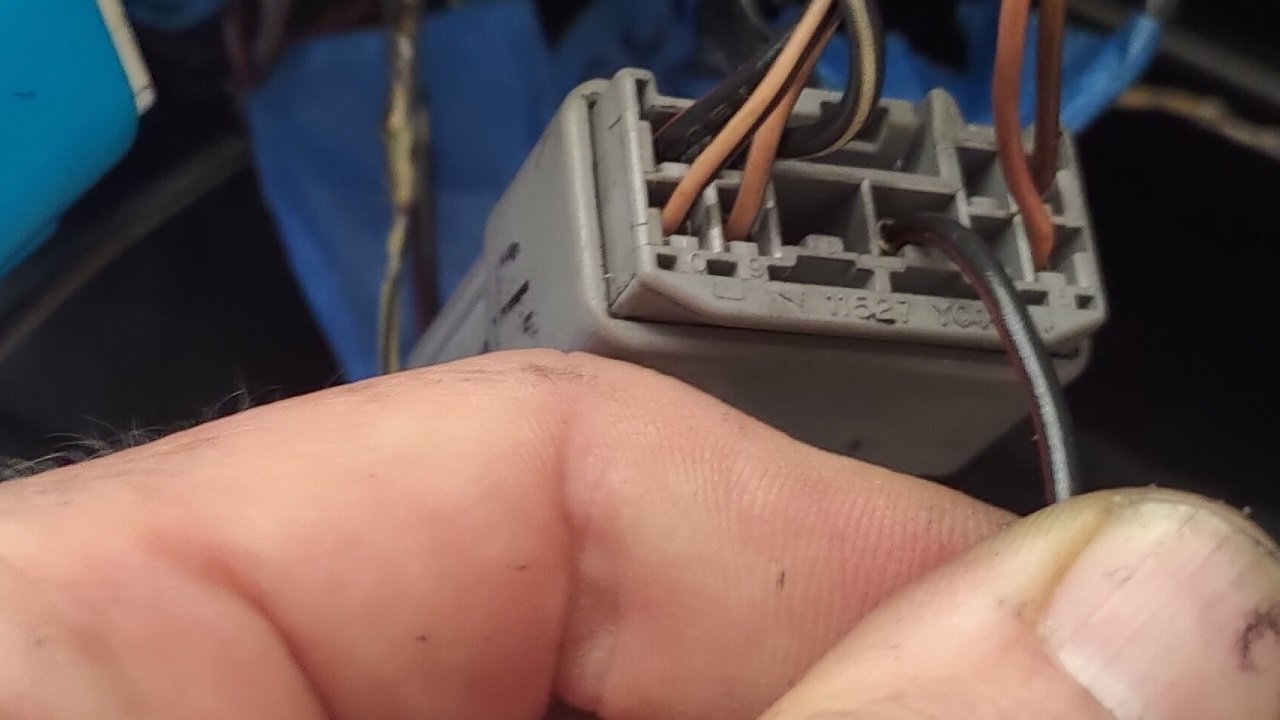
Factory injector and ignition wiring explained (@17:37 and @18:44).
Ignition & Injector Power Moves
Key modifications include moving ignition power (@22:05) and injector power to dedicated Haltech relay pins. I run a separate power wire from the ignition source into Haltech pin A26 for reliable ECU power.
VVTi Solenoid Rewiring
At 24:13, I replace the VVTi solenoid wire (R-Y with B-R). Pictures 5 & 6 on the old site show before/after.

Sensor Modifications
- Cut sensor ground to engine (@26:11) — Remove all brown grounds from the manifold and do not ground them to the engine block (this is per Haltech's installation instructions, they do not allow their sensor grounds to be grounded to the chassis.
- Cam & Crank negative signals (@29:43) — Separate the shared (-) signal where they join together at the ECU connector. Each sensor is a two wire sensor and will be wired into the Haltech separely with no joined wires.
- MAF replacement (@31:52) — Remove factory MAF and install a Haltech GM-style IAT sensor.
- Coolant Temp sensor (@33:34) — Add 1k pull-up resistor or select "pull-up" in Haltech's configuration settings.
- TPS (@34:34) — Depin pin 3. This wire will not be wired into the Haltech ECU.
- Knock sensor change (@36:13). Two non-resonant style knock sensors will be used if knock control is something you want (and yes, you want this). I used two Haltech Knock sensors, which require a step-down stud kit in order to be attached to the engine. They also require specific torque for accurate readings.
Full recap of all wire changes at 38:30.
Relay Wiring & Power Distribution
At 43:44 I show my hand-drawn relay wiring diagram. This is critical for clean power delivery to injectors and ignition. I made some additions to the factory harness, but it's very similar to the OE IS300 harness.
Recommended reference: 2JZ Garage IS300 Wiring Diagrams. For maximum detail, (and if you want to be like me) purchase the official 2002 Toyota EWD451U engine wiring diagram on eBay.

AstroAI Digital Multimeter and Analyzer TRMS 6000 Counts Volt Meter Ohmmeter Auto-Ranging Tester; Accurately Measures Voltage Current Resistance Diodes Continuity Duty-Cycle Capacitance Temperature
Buy on Amazon As an Amazon Associate I earn from qualifying purchases
3M Scotch Super 33+ Vinyl Electrical Tape, .75-Inch by 66-Feet
Buy on Amazon As an Amazon Associate I earn from qualifying purchases
400 Pcs Heat Shrink Tubing Kit-3:1 Ratio Adhesive Lined,Marine Grade Shrink Wrap - Industrial Heat-Shrink Tubing - Black
Buy on Amazon As an Amazon Associate I earn from qualifying purchases
SVAAR 380PCS Non Insulated Butt Connectors Kit Butt Splice Connector Uninsulated Wire Splice Connectors for 26 to 6 Gauge Wire Marine Grade Tinned Copper Seamless Barrel Crimp Butt Splice Terminals
Buy on Amazon As an Amazon Associate I earn from qualifying purchases
iCrimp Closed Barrel Crimper 4 Way Indent,8 Impression Type for Deutsch Solid Contacts gage 14,16&18(IWD-16)
Buy on Amazon As an Amazon Associate I earn from qualifying purchases
AstroAI Digital Multimeter and Analyzer TRMS 6000 Counts Volt Meter Ohmmeter Auto-Ranging Tester; Accurately Measures Voltage Current Resistance Diodes Continuity Duty-Cycle Capacitance Temperature
Buy on Amazon As an Amazon Associate I earn from qualifying purchases
3M Scotch Super 33+ Vinyl Electrical Tape, .75-Inch by 66-Feet
Buy on Amazon As an Amazon Associate I earn from qualifying purchases
400 Pcs Heat Shrink Tubing Kit-3:1 Ratio Adhesive Lined,Marine Grade Shrink Wrap - Industrial Heat-Shrink Tubing - Black
Buy on Amazon As an Amazon Associate I earn from qualifying purchases
SVAAR 380PCS Non Insulated Butt Connectors Kit Butt Splice Connector Uninsulated Wire Splice Connectors for 26 to 6 Gauge Wire Marine Grade Tinned Copper Seamless Barrel Crimp Butt Splice Terminals
Buy on Amazon As an Amazon Associate I earn from qualifying purchases
iCrimp Closed Barrel Crimper 4 Way Indent,8 Impression Type for Deutsch Solid Contacts gage 14,16&18(IWD-16)
Buy on Amazon As an Amazon Associate I earn from qualifying purchasesWiring Completed & Haltech Configuration
Wiring is fully completed at 53:18. The car fires up nicely during initial Haltech config and first start at 1:08:02.
Related: Running factory manual transmission on an auto ECU (previous setup)
Battery relocation video (done prior to this install)
Post-Install Tuning Tips & Benefits of Haltech
Start with the Haltech base map for the 2JZ-GE VVTi. While I share general sensor configuration data and tuning tips here on legitracecraft.com and on YouTube, professional tuning is strongly recommended.
The Haltech Elite 2500 offers excellent engine protection features that can help prevent catastrophic failure — a huge advantage on a boosted 2JZ. It integrates seamlessly with the Haltech WB1 wideband.
This setup currently runs the original injectors, but they can be upgraded easily once the VE table is properly dialed in.
Alternative Options & Future Upgrades
After making this video, I installed a G35 APPS pedal for drive-by-wire. Retaining cruise control and adding drive-by-wire requires a Haltech IO-12 Expander due to the extra inputs. Watch the G35 APPS pedal install video.
Alternative: The new Haltech Nexus R3 has more inputs than my Elite 2500 and has with built-in wideband and 12v power output capability.
For plug-and-play wire harness options (I did not use this), check the Induction Performance Haltech IS300 adapter harness. Always read recent reviews.
Conclusion
Converting the factory IS300 harness for a Haltech Elite 2500 delivers a clean, reliable, and highly tunable standalone solution. The 2JZ-GE remains incredibly strong with proper management.
Jump back to the full video: https://www.youtube.com/watch?v=3M80MLKoUSE
Thanks for reading — I hope this guide helps you with your own IS300 build!