This comprehensive guide covers nearly everything you need to convert your Lexus IS300 to a modern Drive-By-Wire throttle system. Whether you're using a G35/350Z pedal, Subaru BRZ/FR-S pedal, or a high-performance Bosch electronic throttle body with a Haltech ECU, this walkthrough provides detailed steps, wiring diagrams, fitment tips, and Haltech configuration advice.

G35 Accelerator Pedal Conversion for IS300

This should be one of the most popular and is (to my knowledge) the most cost-effective way to add Drive-By-Wire to your IS300 if you have engine management. The G35/350Z pedal assembly is a direct bolt-in with minor modifications and pairs excellently with standalone ECUs like Haltech.

Key Advantages: Direct bolt-in to the IS300 firewall, inexpensive replacement sensors (~$20 OEM), and reliable performance.

Disadvantages: Requires bending the pedal arm forward ~30 degrees and cannot be used with the OEM IS300 ECU.
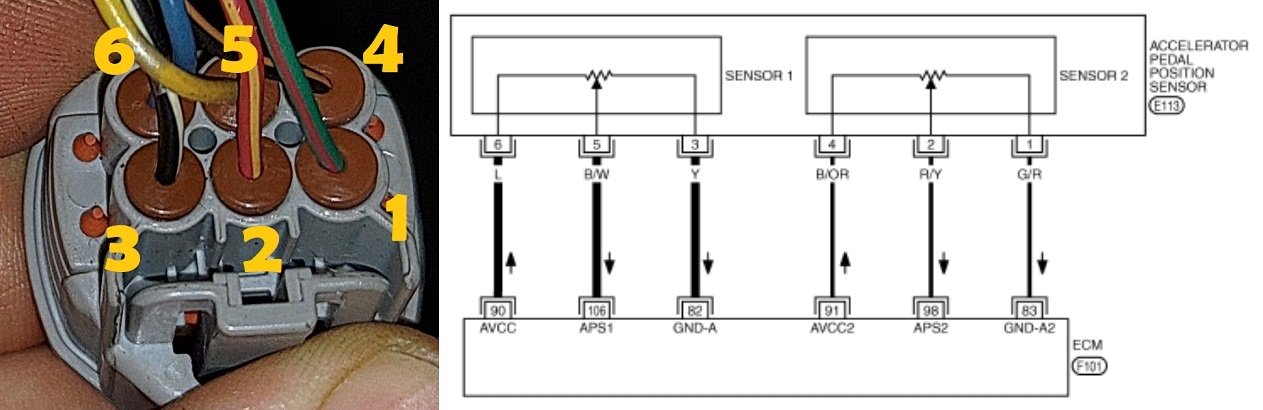
G35 APPS Connector Pinout Wiring Diagram

G35 Pedal Wiring (APPS Pinout)

From the video at moment in video where wiring is discussed:

  • Pins 1 and 3: Sensor Ground (connect to ECU sensor ground, NOT chassis ground)
  • Pins 4 and 6: 5V Supply (from Haltech ECU)
  • Pin 2: APS2 (Sub pedal sensor signal)
  • Pin 5: APS1 (Main pedal sensor signal)

APPS1 and APPS2 can be swapped — the Haltech will determine polarity during calibration.

Pedal Fitment & Modification Steps

From the video at moment in video where modification is discussed:
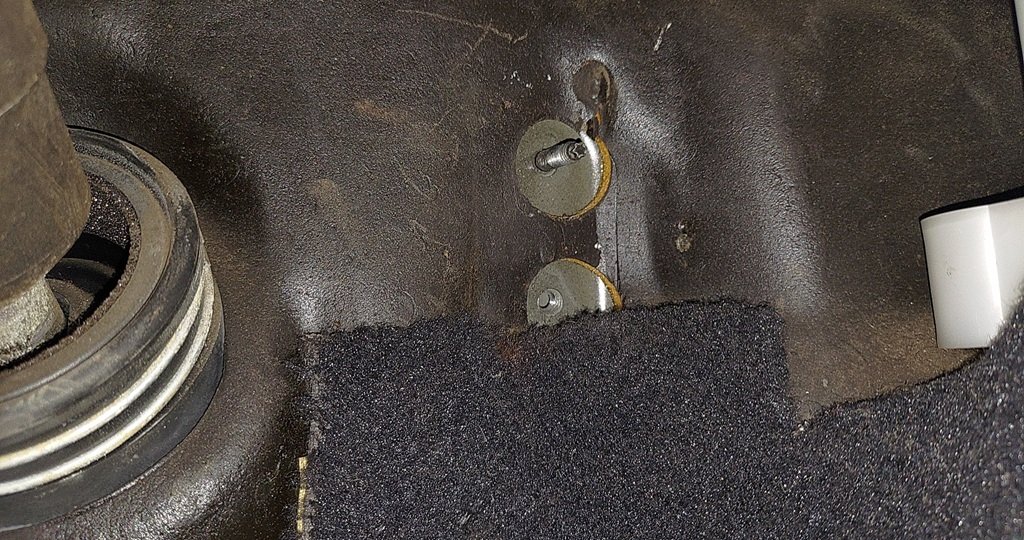
IS300 Pedal Stud Installation

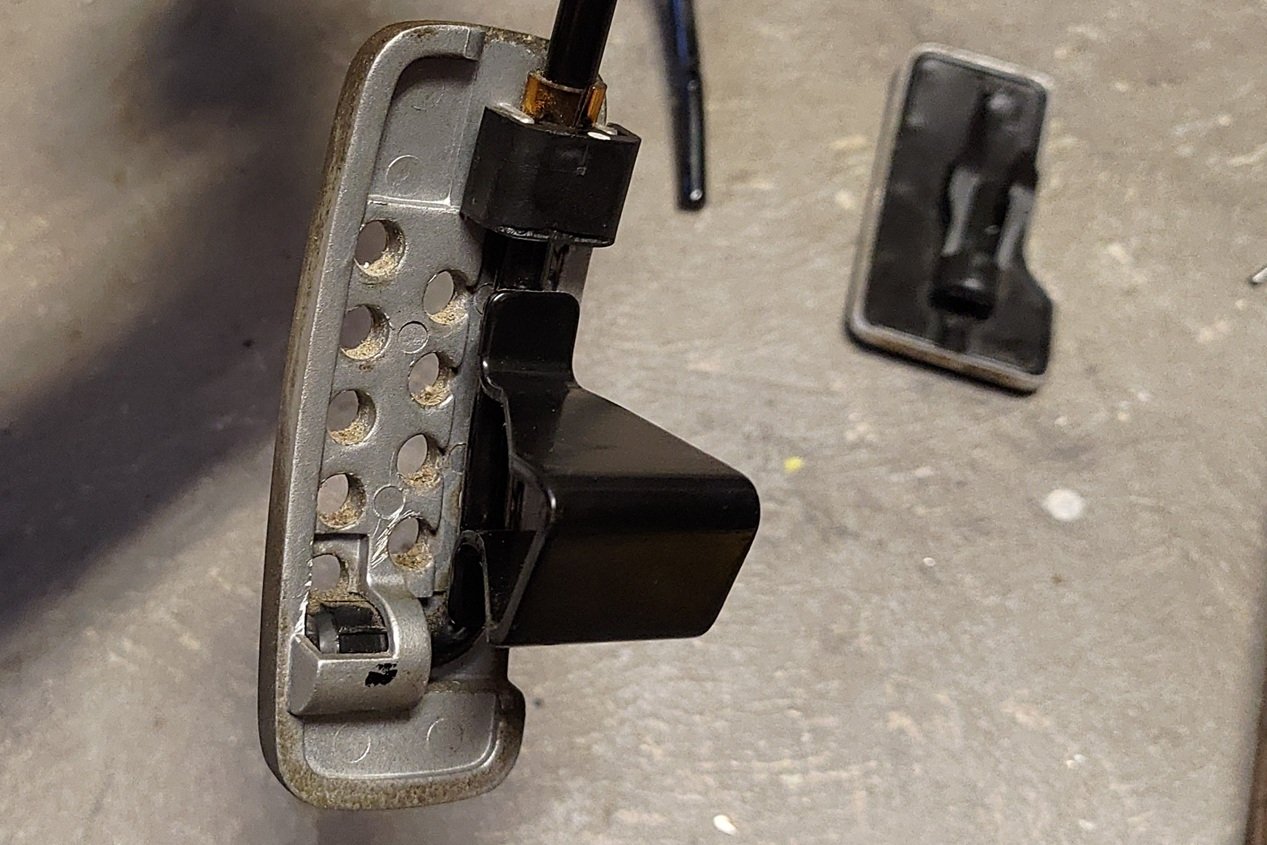
Step 1: Bend the G35 pedal arm forward approximately 30 degrees for proper ergonomics.

Step 2: Source two 1.5 inch M6x1.0 bolts for mounting (it's easier to mount if one M6x1.0 stud/nut is used in place of one of the bolts. Stud should be 2 inches long).
Optional Advanced Steps:
Install a 2-inch long M6x1.0 stud on the top pedal mount hole on the firewall (highly recommended for easier installation).
Removing IS300 Pedal Pad G35 Pedal Back View

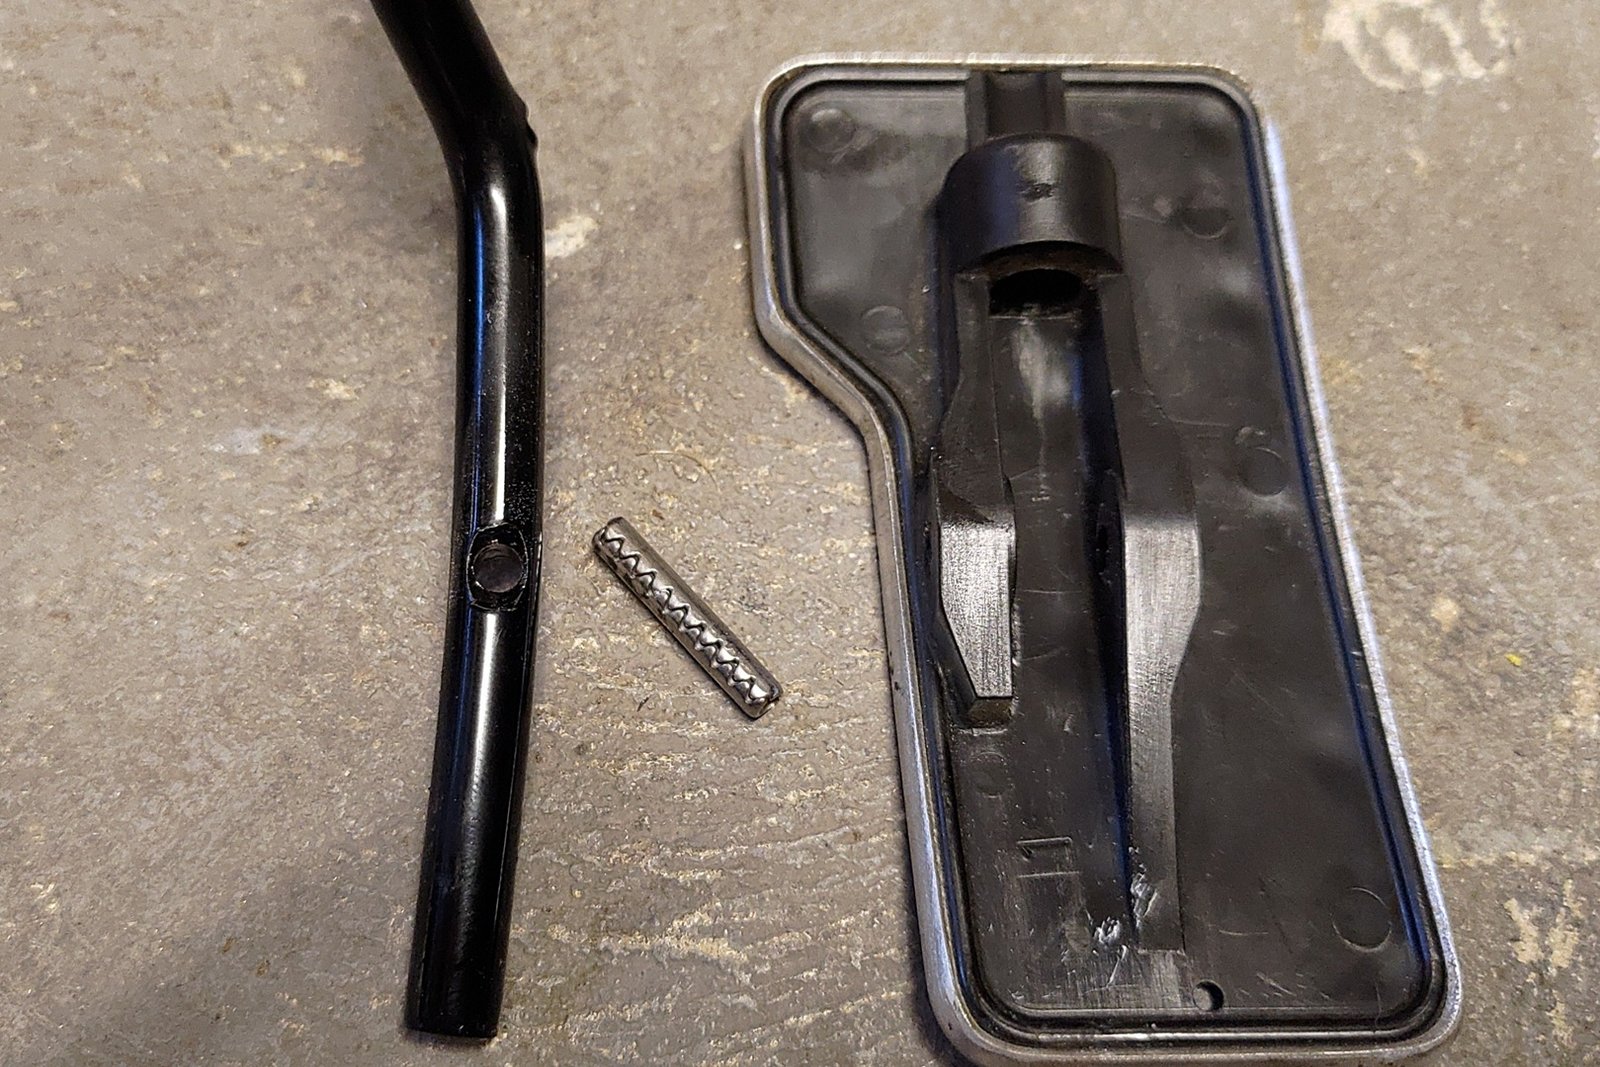
Step 4: Remove the IS300 pedal pad using a punch tool on the retaining pin.
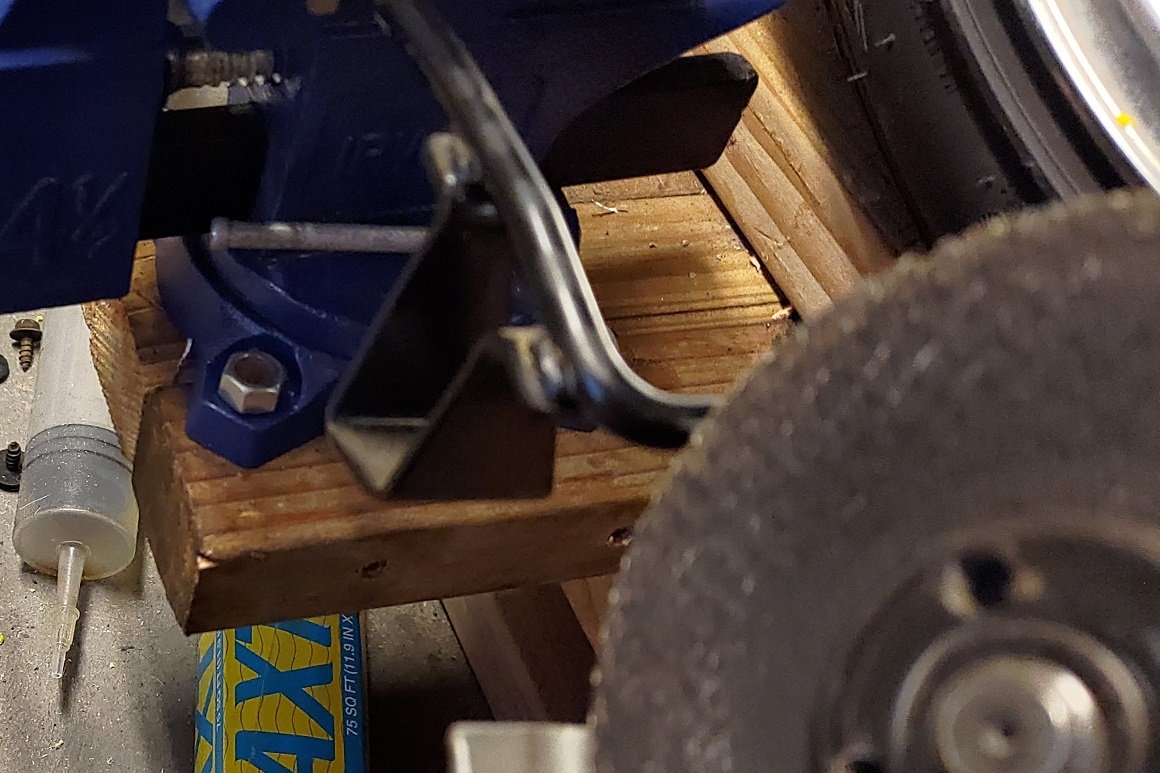
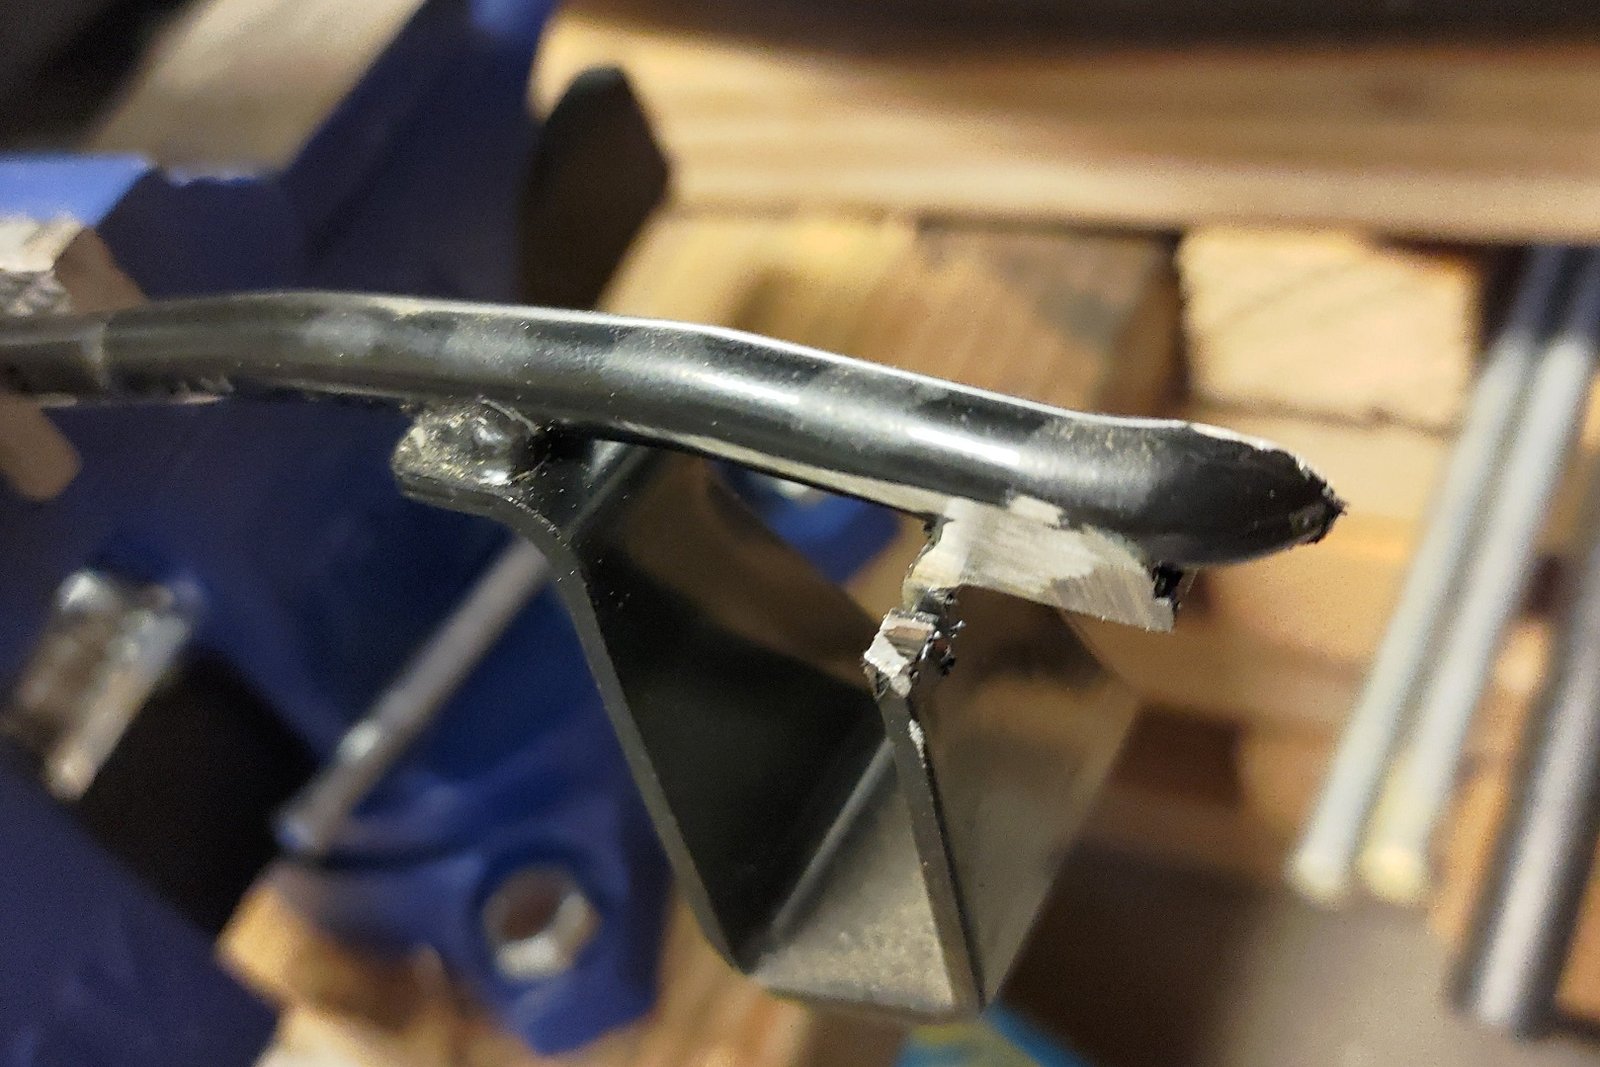
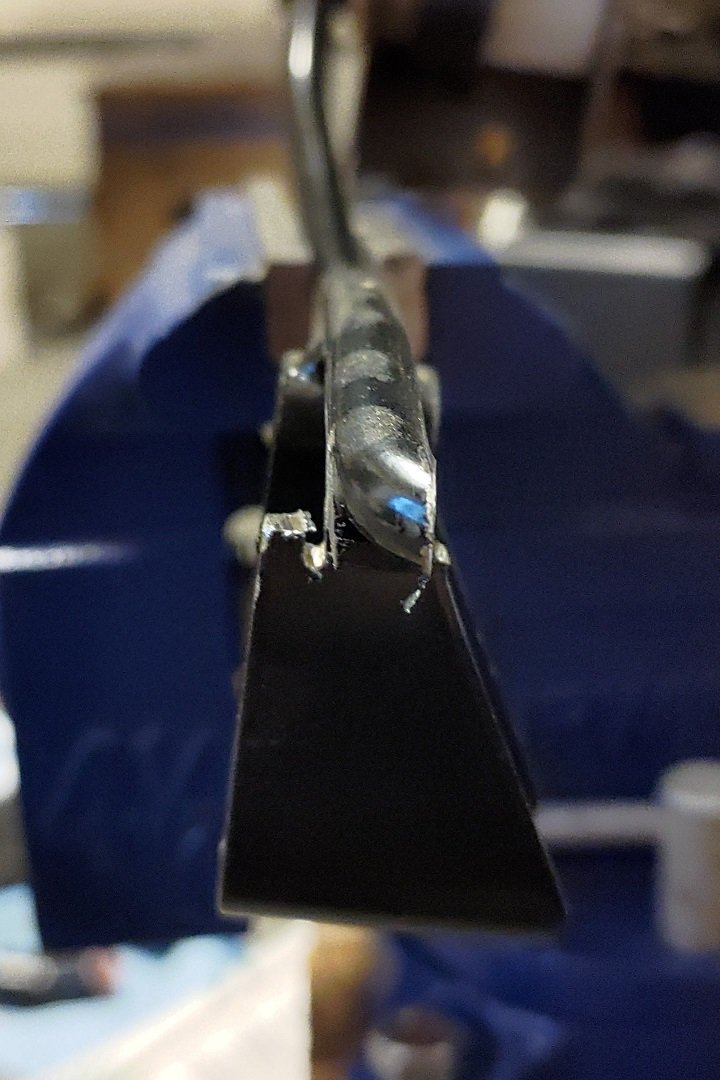
G35 Pedal Arm Modification - Before Cut G35 Pedal Arm After Cutting G35 Pedal Arm Cut Angle View

Steps 5-8 (Pedal Pad Transfer): Grind off the 90-degree tip on the G35 pedal arm, grind excess material for fitment, secure the IS300 pad temporarily with coat hanger wire or thick copper wire in a U-shape, then epoxy or JB Weld it permanently in place.

Pro Tip: If you can weld, skip steps 4-8 entirely — cut both arms and weld the IS300 lower pad section onto the G35 upper arm.
AstroAI Multimeter
AstroAI Digital Multimeter and Analyzer TRMS 6000 Counts Volt Meter Ohmmeter Auto-Ranging Tester; Accurately Measures Voltage Current Resistance Diodes Continuity Duty-Cycle Capacitance Temperature
Buy on Amazon As an Amazon Associate I earn from qualifying purchases
Product 2
3M Scotch Super 33+ Vinyl Electrical Tape, .75-Inch by 66-Feet
Buy on Amazon As an Amazon Associate I earn from qualifying purchases
Product 3
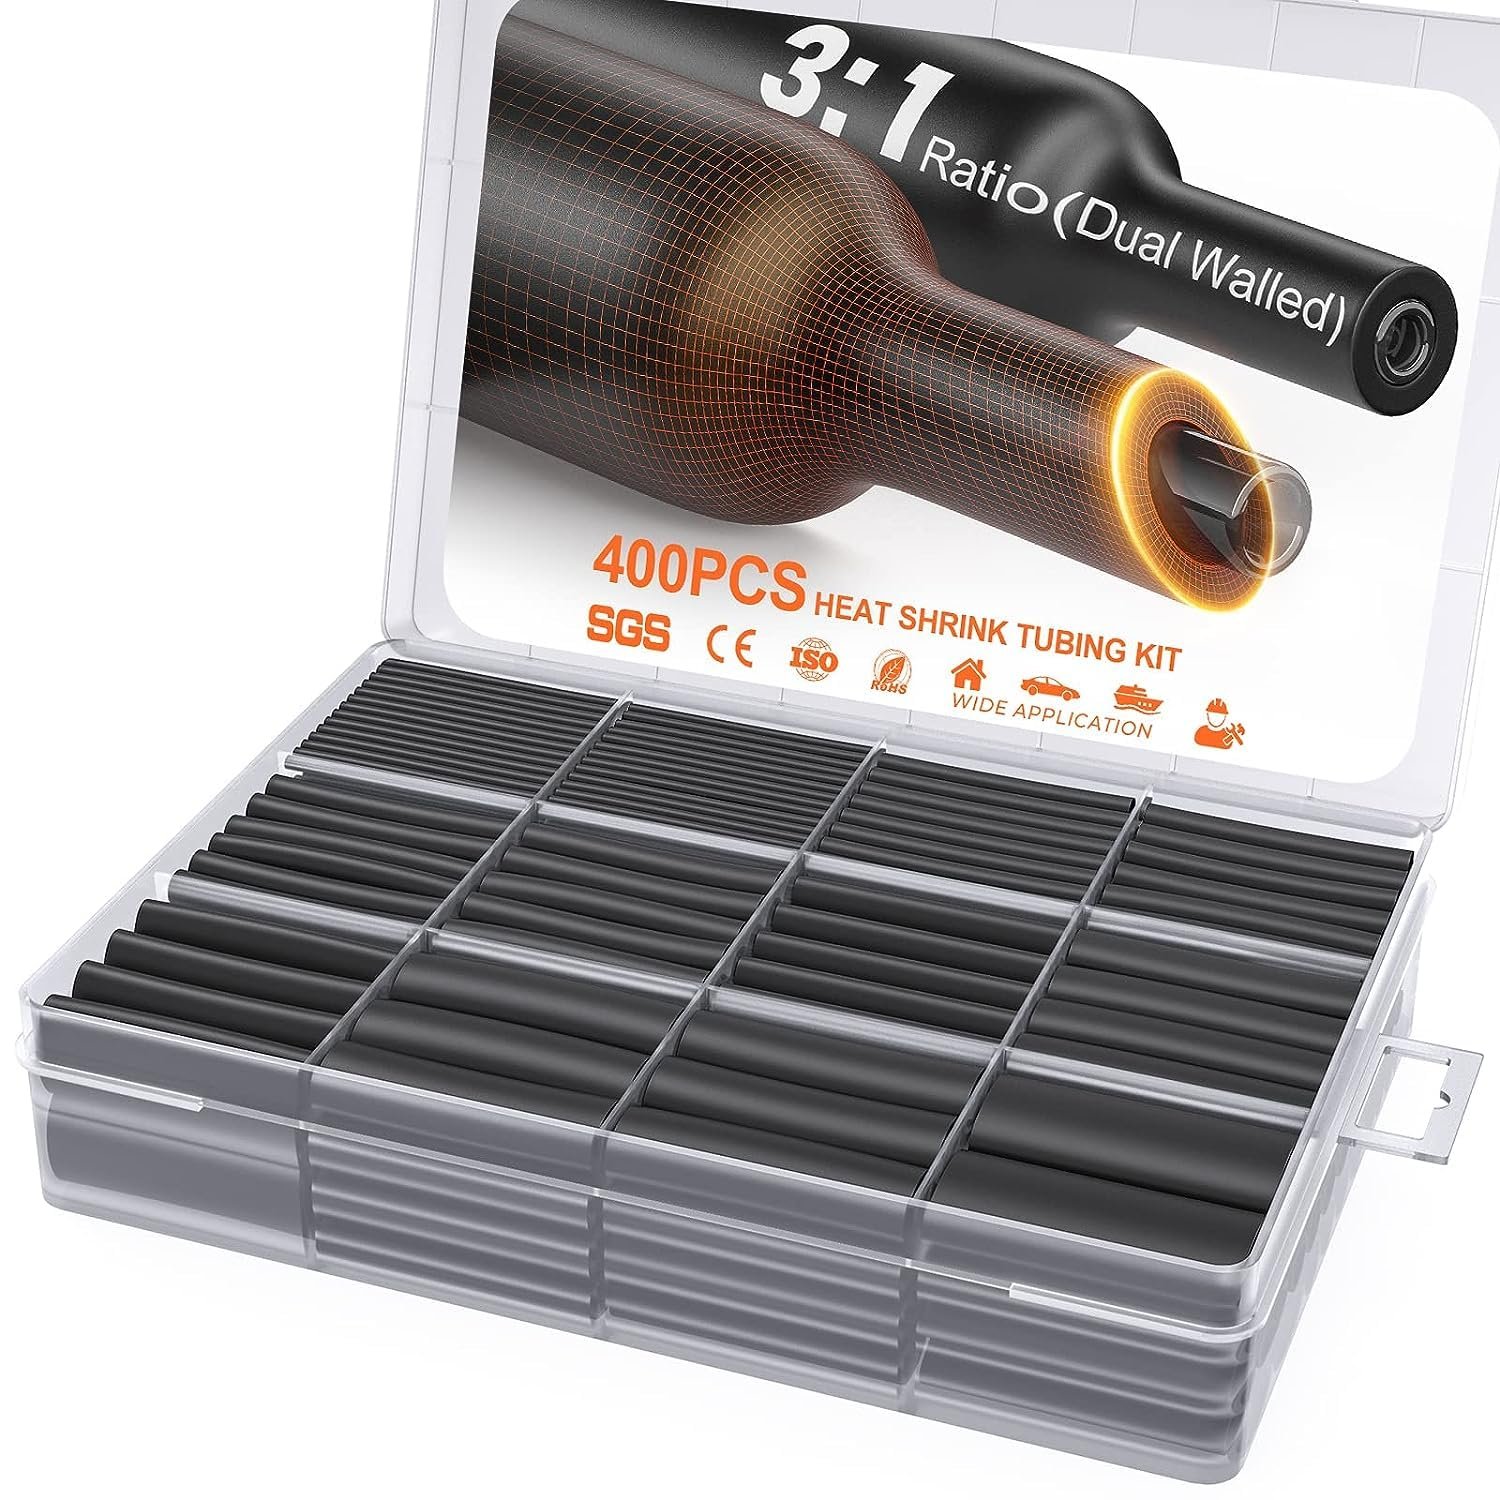
400 Pcs Heat Shrink Tubing Kit-3:1 Ratio Adhesive Lined,Marine Grade Shrink Wrap - Industrial Heat-Shrink Tubing - Black
Buy on Amazon As an Amazon Associate I earn from qualifying purchases
Product 4
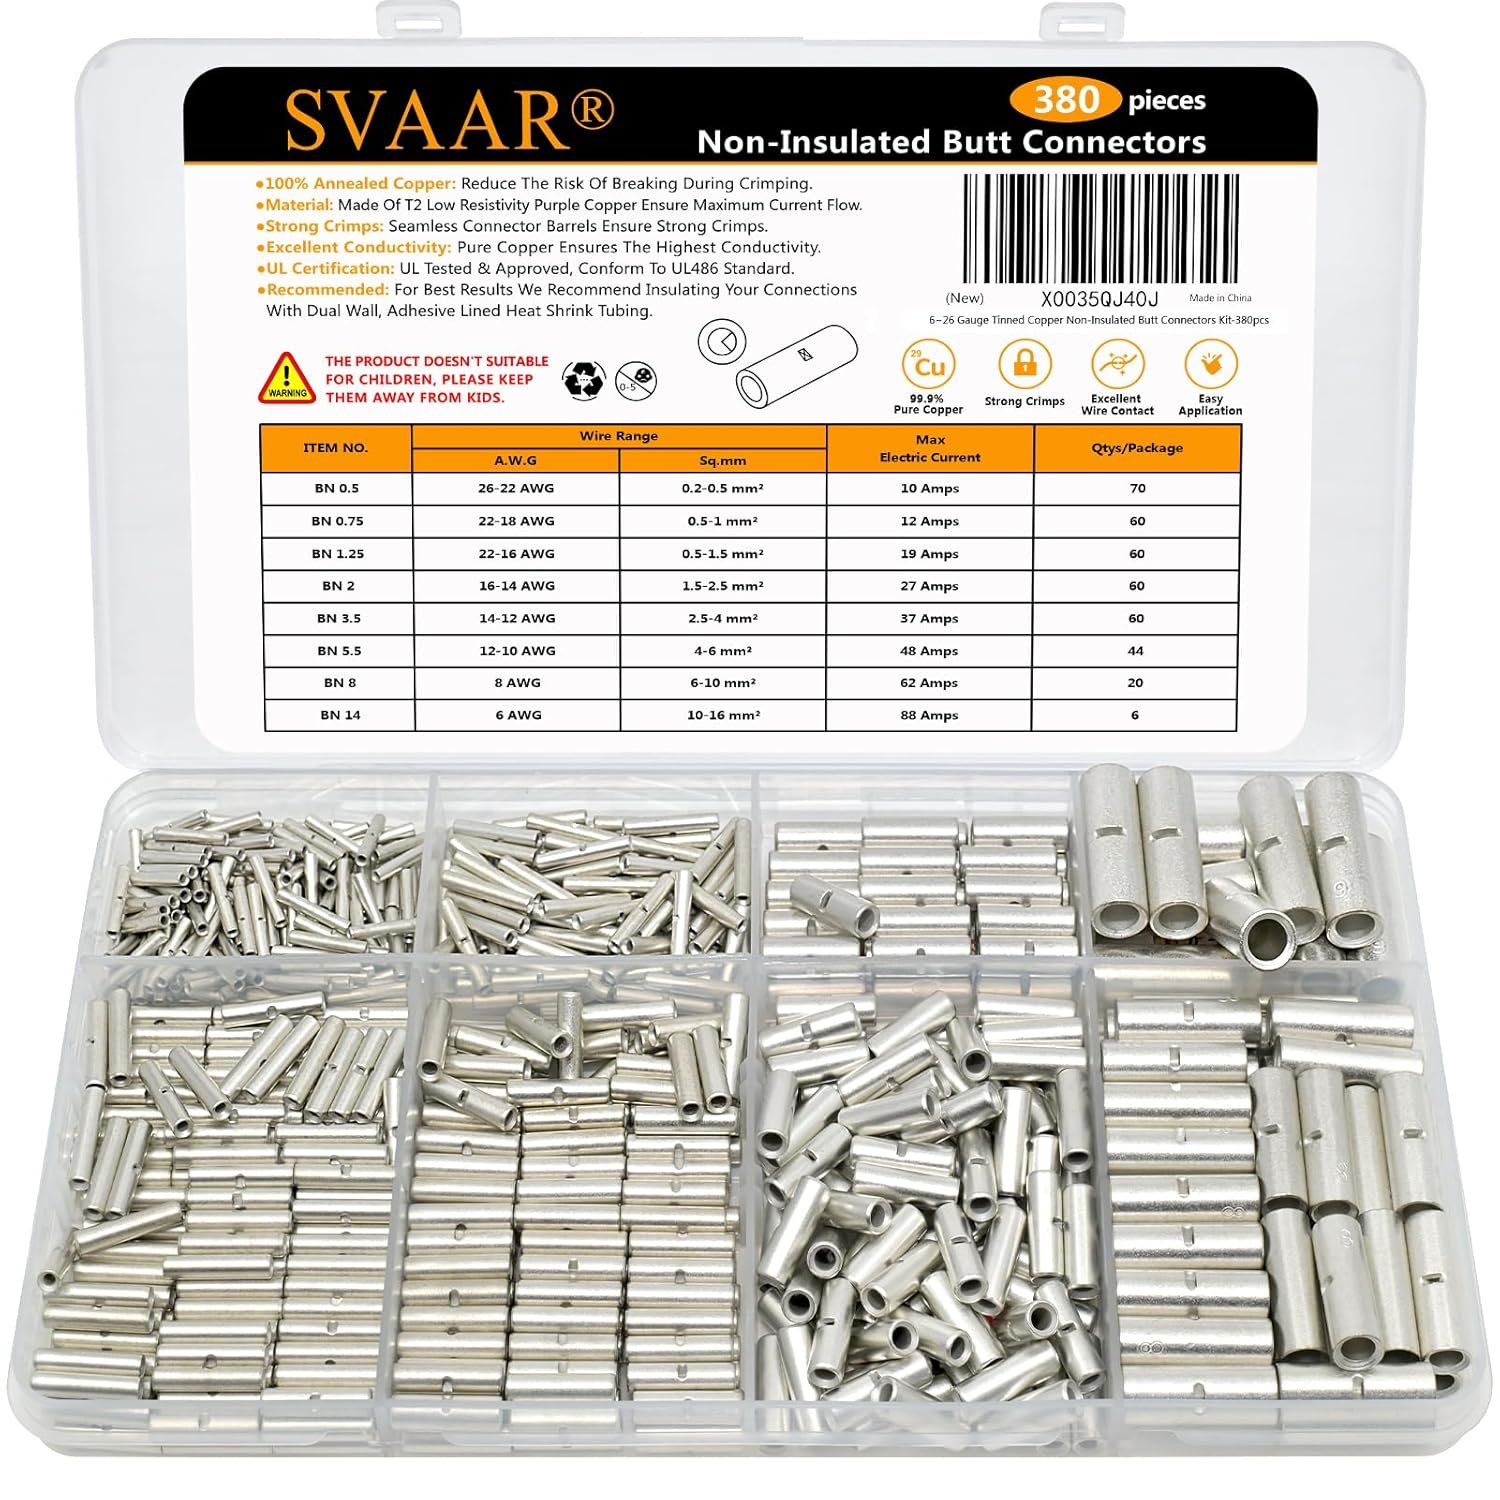
SVAAR 380PCS Non Insulated Butt Connectors Kit Butt Splice Connector Uninsulated Wire Splice Connectors for 26 to 6 Gauge Wire Marine Grade Tinned Copper Seamless Barrel Crimp Butt Splice Terminals
Buy on Amazon As an Amazon Associate I earn from qualifying purchases
Product 5
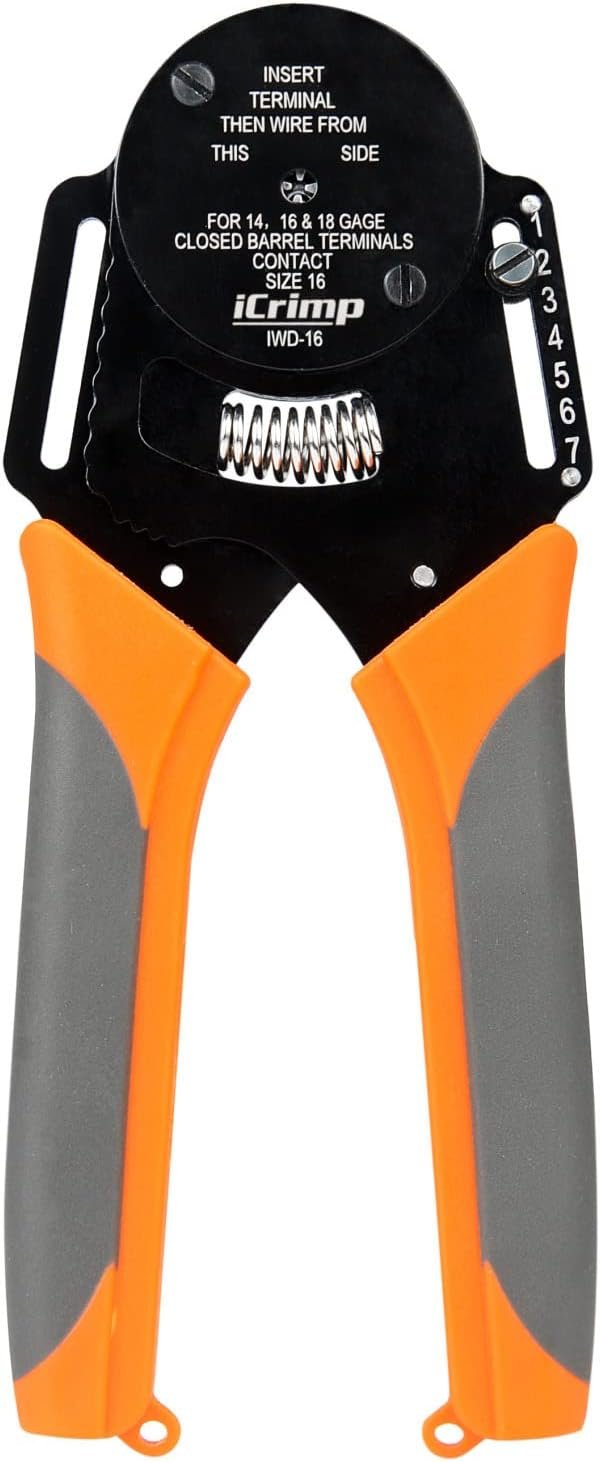
iCrimp Closed Barrel Crimper 4 Way Indent,8 Impression Type for Deutsch Solid Contacts gage 14,16&18(IWD-16)
Buy on Amazon As an Amazon Associate I earn from qualifying purchases
AstroAI Multimeter
AstroAI Digital Multimeter and Analyzer TRMS 6000 Counts Volt Meter Ohmmeter Auto-Ranging Tester; Accurately Measures Voltage Current Resistance Diodes Continuity Duty-Cycle Capacitance Temperature
Buy on Amazon As an Amazon Associate I earn from qualifying purchases
3M Electrical Tape
3M Scotch Super 33+ Vinyl Electrical Tape, .75-Inch by 66-Feet
Buy on Amazon As an Amazon Associate I earn from qualifying purchases
Industrial Heat Shrink
400 Pcs Heat Shrink Tubing Kit-3:1 Ratio Adhesive Lined,Marine Grade Shrink Wrap - Industrial Heat-Shrink Tubing - Black
Buy on Amazon As an Amazon Associate I earn from qualifying purchases
Butt Splice Connectors
SVAAR 380PCS Non Insulated Butt Connectors Kit Butt Splice Connector Uninsulated Wire Splice Connectors for 26 to 6 Gauge Wire Marine Grade Tinned Copper Seamless Barrel Crimp Butt Splice Terminals
Buy on Amazon As an Amazon Associate I earn from qualifying purchases
Closed Barrel Crimpers
iCrimp Closed Barrel Crimper 4 Way Indent,8 Impression Type for Deutsch Solid Contacts gage 14,16&18(IWD-16)
Buy on Amazon As an Amazon Associate I earn from qualifying purchases

FR-S / BRZ DBW Pedal Alternative

The Subaru BRZ / Toyota FR-S pedal offers excellent ergonomics that match the IS300 brake and clutch pedal feel.

Advantages: Factory pedal pad styling matches IS300 perfectly and parts are widely available used on eBay.

Disadvantages: Requires a custom firewall mount, I wouldn't rely on a 3d printed part to hold an accelerator on my car as this can be disastrous. Another disadvantage is the sensor and pedal are a single expensive assembly compared to the APPS on the G35 which is ~$20 new, and the complete G35 pedal and APPS can be bought on ebay for less than $50.
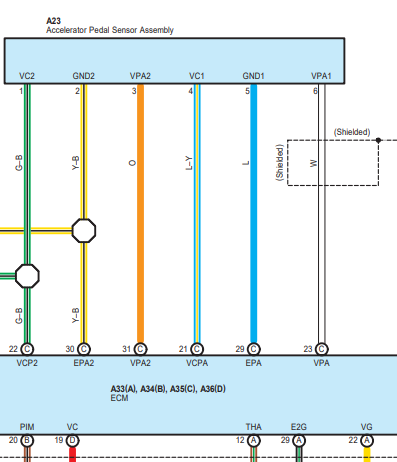
FR-S / BRZ APPS Pinout (from HPAcademy)

FR-S BRZ APPS Wiring Diagram
  • Pins 1 and 4: 5V from ECU
  • Pins 2 and 5: Sensor Ground from ECU
  • Pin 3: DBW - APP2
  • Pin 6: DBW - APP1

Note: This pinout may be similar to later IS250/IS350 models (verify before use). APPS1/APPS2 from the Haltech engine management can be wired to either APP1 or APP2 prior to Haltech calibration but should not be switched after calibration.
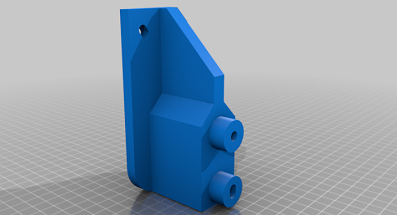
Custom Mount & 3D Printed Adapter

IS250 to IS300 3D Printed Pedal Adapter

Download STL ZIP File Here (For IS250 06/07 bracket — may require minor modification for BRZ/FR-S).

This 3d print file I found on STLfinder.com. It's for the IS250 06/07, but the bracket looks similar to the BRZ/FR-S mount points, so it may work or need some slight modification to fit a BRZ/FR-S pedal.

Important Safety Disclaimer: 3D printed adapters are used at your own risk. A failed mount could cause the pedal to detach, leading to uncontrolled acceleration. Thorough testing and professional installation are strongly recommended. This modification is for track use only.

Bosch Drive-By-Wire Throttle Body Installation & Wiring

Bosch DBW throttle bodies are renowned for reliability in Porsche as well as other manufacturers and are a popular choice for high-horsepower builds.

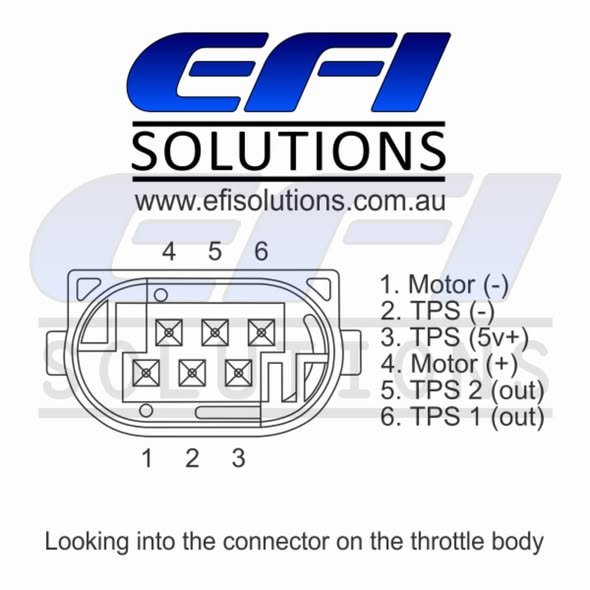
Bosch DBW Throttle Body Pinout

Bosch DBW Pinout (Most Models Except 52mm)

  • Pin 4: Motor +
  • Pin 1: Motor -
  • Pin 2: Sensor Ground
  • Pin 3: 5V Supply
  • Pin 6: TPS 1 Signal
  • Pin 5: TPS 2 Signal

TPS1 and TPS2 can be swapped — Haltech auto-detects during calibration. Always verify with your specific throttle body datasheet.

Recommended Bosch Throttle Body Sizes & Purchase Links

  • 82mm (0 280 750 473 / 101 / 780) — Ideal for high power: Buy on Amazon
  • 74mm (0 280 750 474): Buy on Amazon
  • 68mm (0 280 750 156) — Popular for custom motorsport: Buy on Amazon
  • 54mm (0 280 750 150) — Not ideal for higher HP output: Buy on Amazon
  • Note: Regarding TB diameter on a DBW application, the throttle curve can be adjusted post-calibration, meaning you can install a massive throttle body on a small engine and still retain driveability. Compared to a cable throttle setup with a large throttle body where the opening cannot be precisely controlled. Your large throttle DBW throttle body can be configured to open very gradually so it feels like a small throttle body, but has the advantage of large airflow and HP when necessary. It's also used by the haltech ECU as an idle air control valve, so the IACV would not be required when purchasing a DBW throttle body.

Browse Outsider Garage Bosch DBW Adapters & Flanges

Visit Haltech Official Website for compatible ECU options.

Haltech ECU Configuration & Calibration

Proper Haltech setup is critical for safe and responsive DBW operation. Refer to your specific Haltech model documentation and the official guide here for real-world calibration steps.

Additional helpful videos from the LegitRaceCraft IS300 Playlist:

For detailed DBW tuning theory, check resources from High Performance Academy (HPAcademy).

Safety Warnings & Recommendations

This conversion is intended for track/off-road use only and should never be used on public roads.

Drive-by-Wire systems carry risks of unintended acceleration if improperly installed or calibrated. Professional installation by experienced technicians is highly recommended. Always include redundant safety systems and thoroughly test in a controlled environment.

Recommended Resources:

This guide is part of the migration from HournineRacecraft to LegitRaceCraft.com. For more IS300 builds and technical content, subscribe to the LegitRaceCraft YouTube channel.

want to See more?

Privacy Policy | Contact | Legit RaceCraft © 2026